
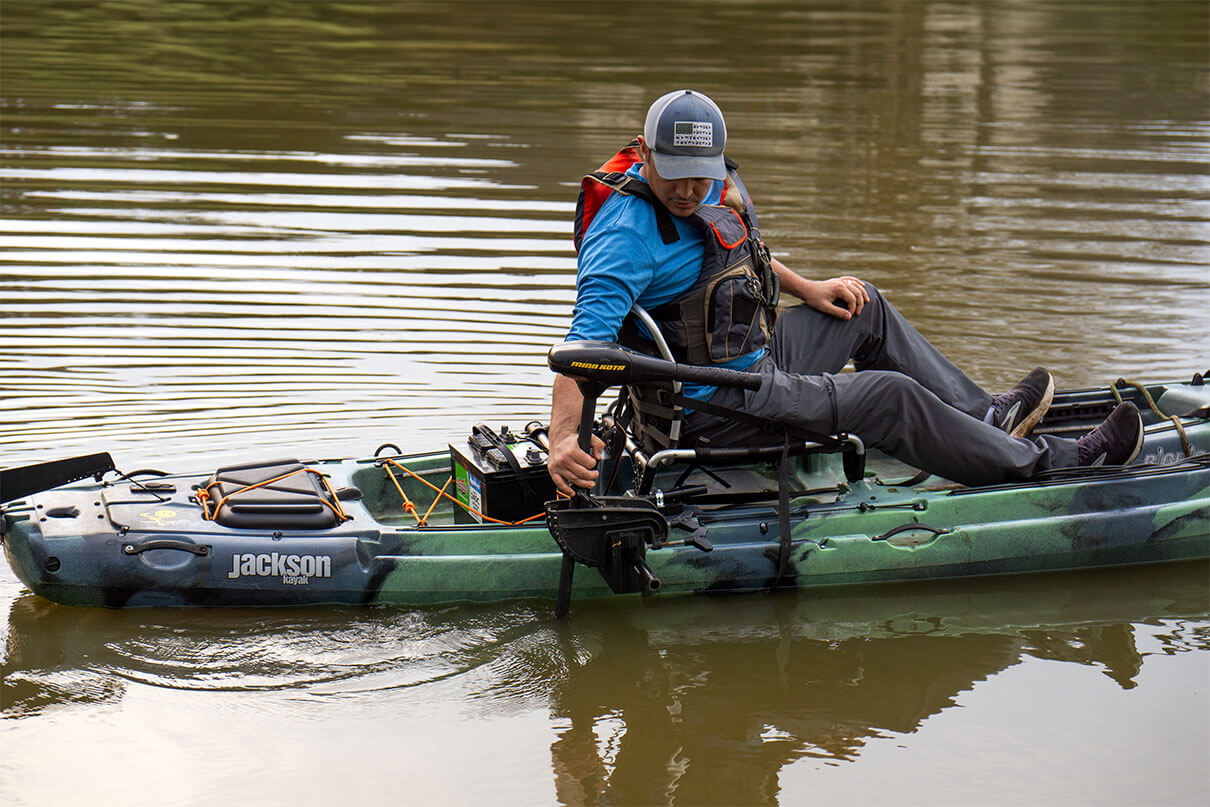
Electric outboards and motorized kayaks cost thousands of dollars. A transom-mount electric trolling motor set me back $150 and the parts cost another $100. With $250 and a little shade-tree engineering, I built an outrigger mount for a trolling motor. Now I can keep up with the expensive rigs.
DIY Kayak Motor Install
Most fishing kayaks have a flat space behind the seat to mount rod holders. I use this space asthe mounting point for the trolling motor outrigger.
Materials
- 3/4″ x 48″ black pipe
- (2) 1/2″ x 18″ black pipe
- (2) 1″ x 1″ x 1/2″ tee
- Assortment of 1/4-20-round head machine screws
- 3/4″ plywood
- Self tapping screws
Build the Transom Block
To attach the transom block to the outrigger bar, I sandwiched the bar between two pieces of 3/4-inch plywood.
For the back and front of the transom block, cut two six-by-five-inch pieces of 3/4-inch plywood. For the center top of the mount, cut two six-by-three-inch pieces out of the 3/4-inch plywood. Cut two six-by-one-inch pieces out of the 3/4-inch plywood for the center bottom.
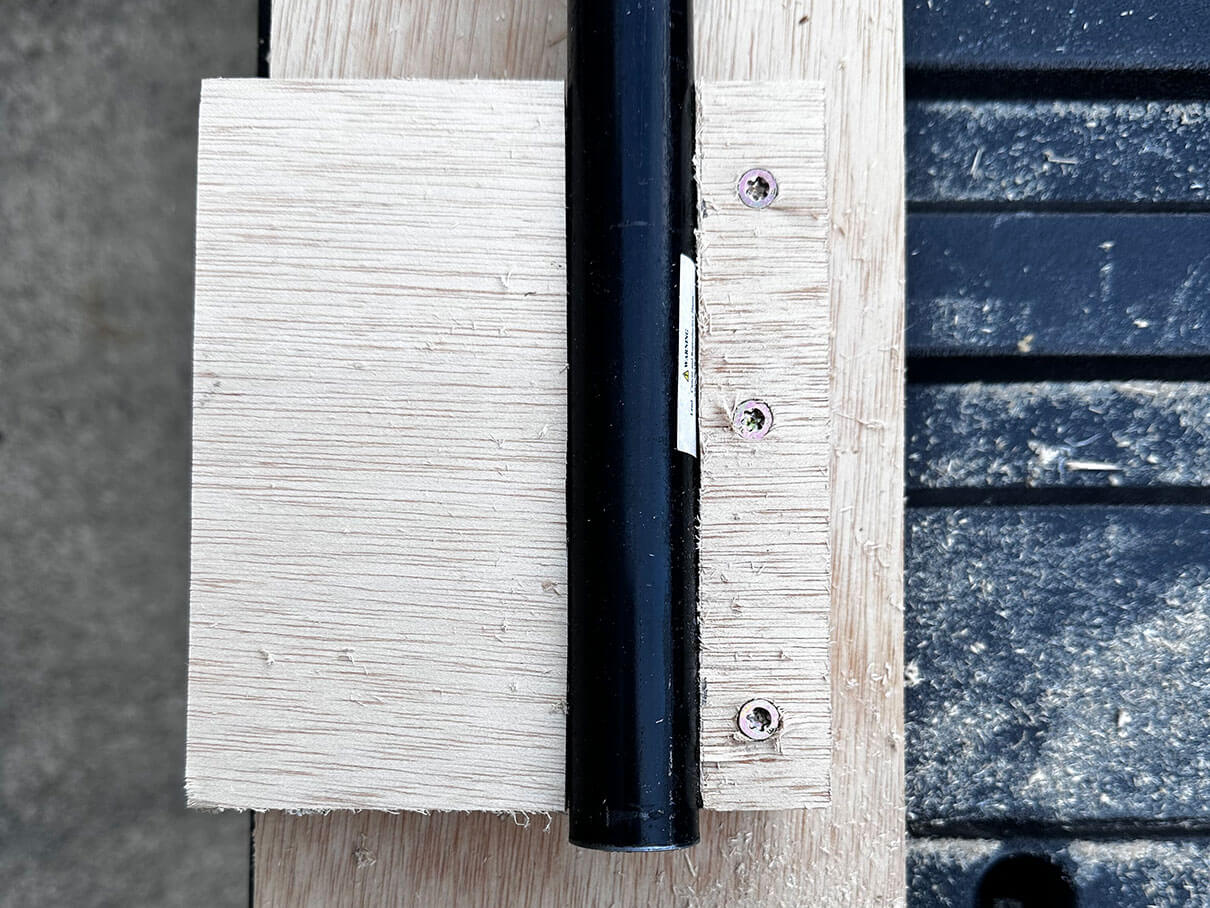
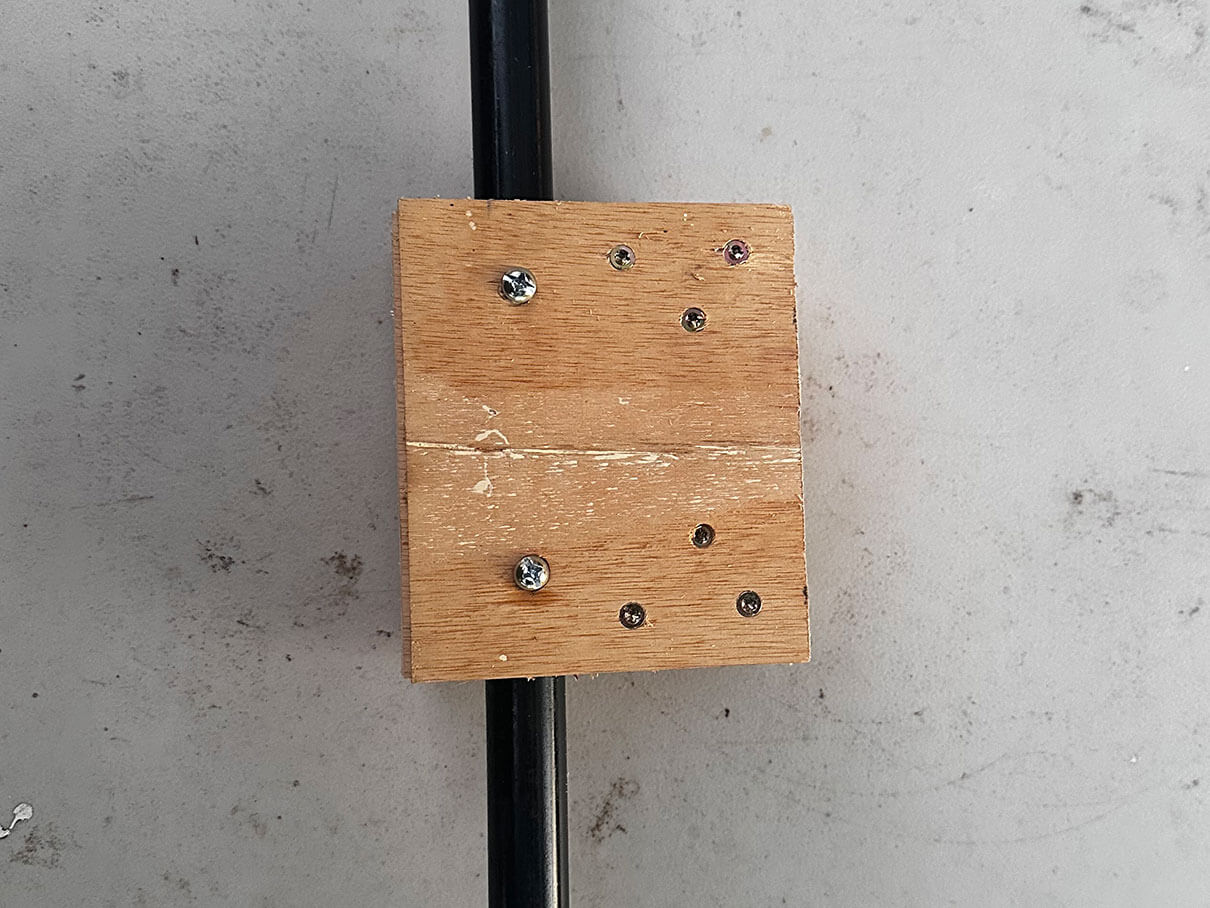
To assemble, attach two of the six-by-three-inch pieces of plywood to the top edge of the six-by-five-inch piece to create the top-middle spacer. Secure the spacer with 3/4-inch screws. Add the mounting bar and secure the bottom center spacers with 3/4-inch screws.
Attach the second six-by-three-inch piece of plywood with 3/4-inch screws to sandwich the outrigger bar and spacers. To secure the transom to the outrigger bar, first make two pilot holes through the wood to mark the outrigger bar. Then drill 1/4-inch holes through the bar and insert 1/4-20 machine screws through the transom block and outrigger bar.
Build the Outrigger Arm
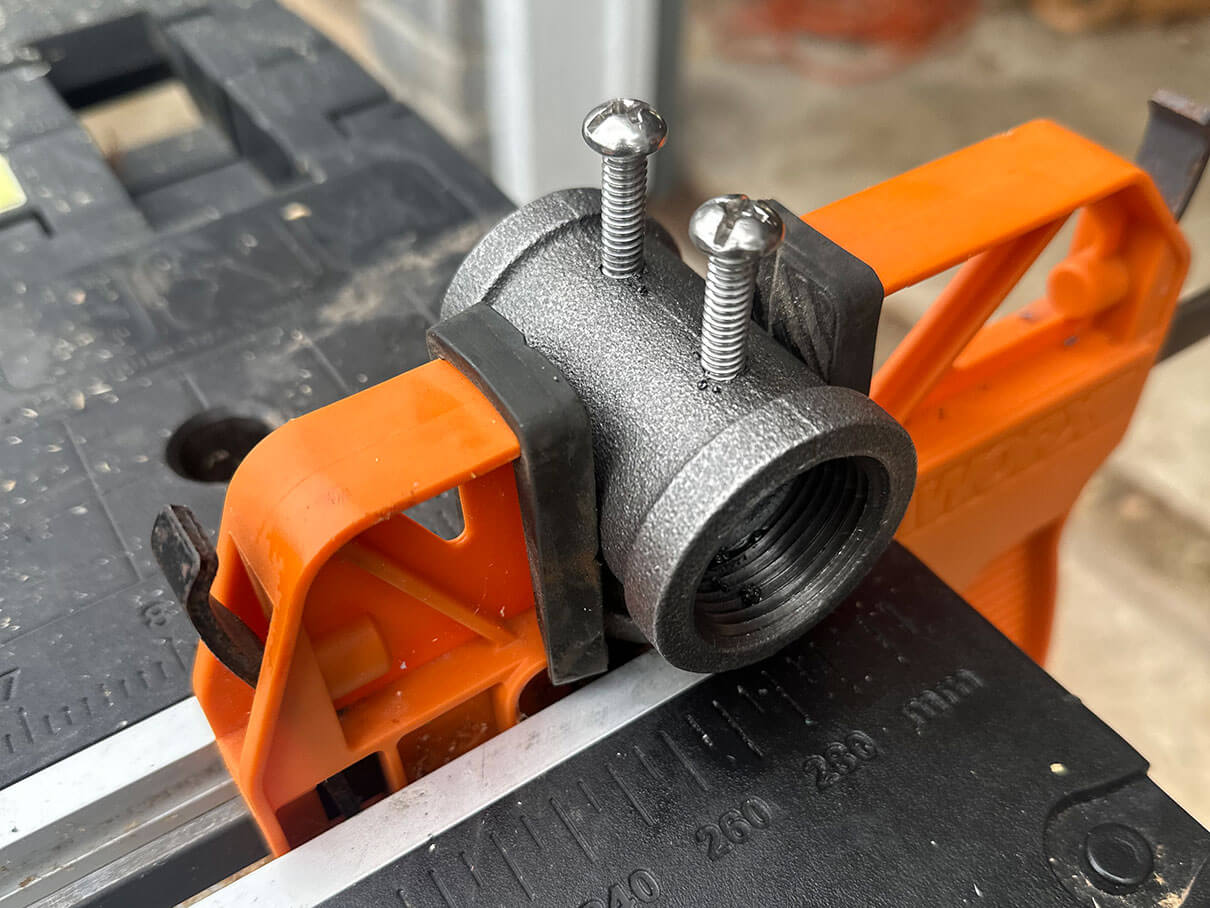
- Use the casting line on the iron tee pipe as a guide for tapping two 1/4-20 machine screws.
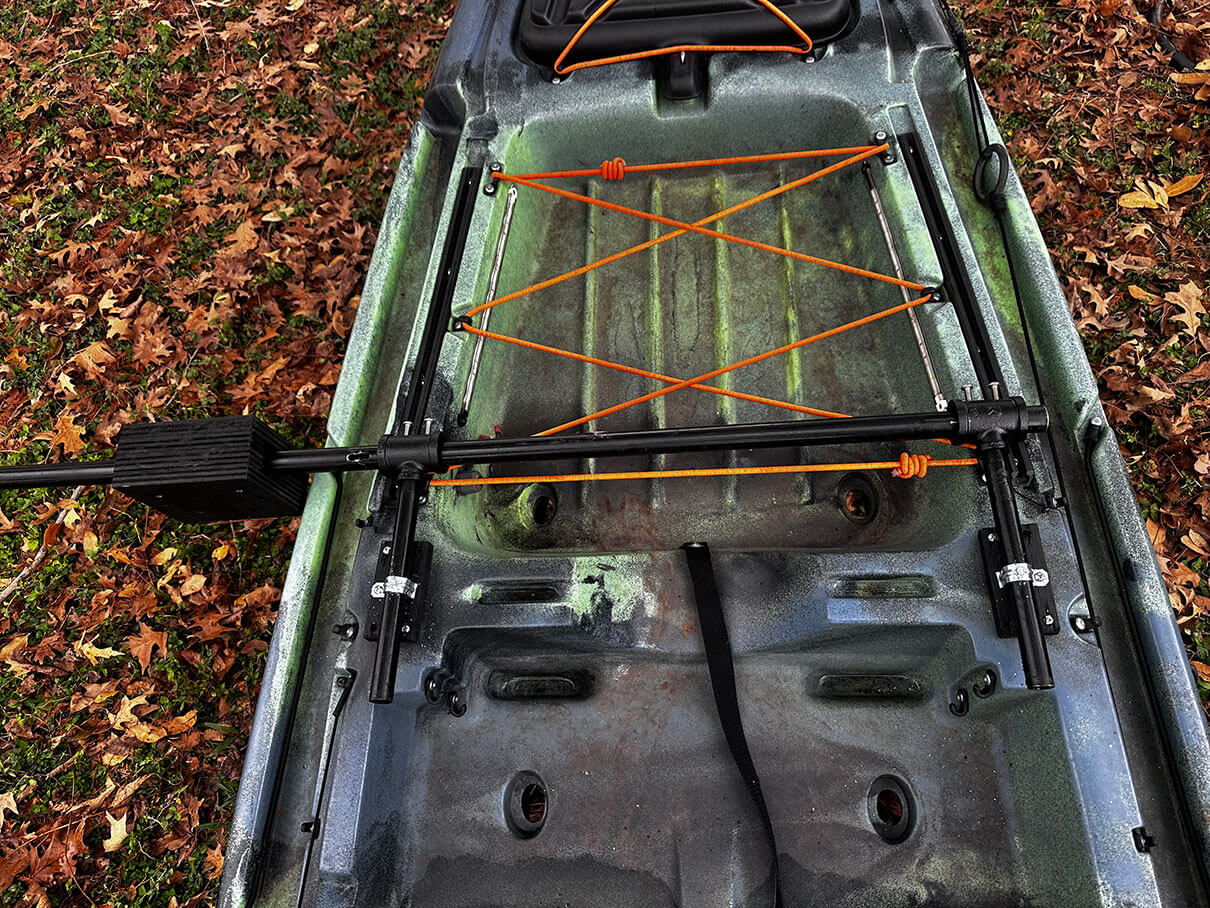
- Cut the 1/2-inch pipe to fit across the kayak with room for the transom mounting block.
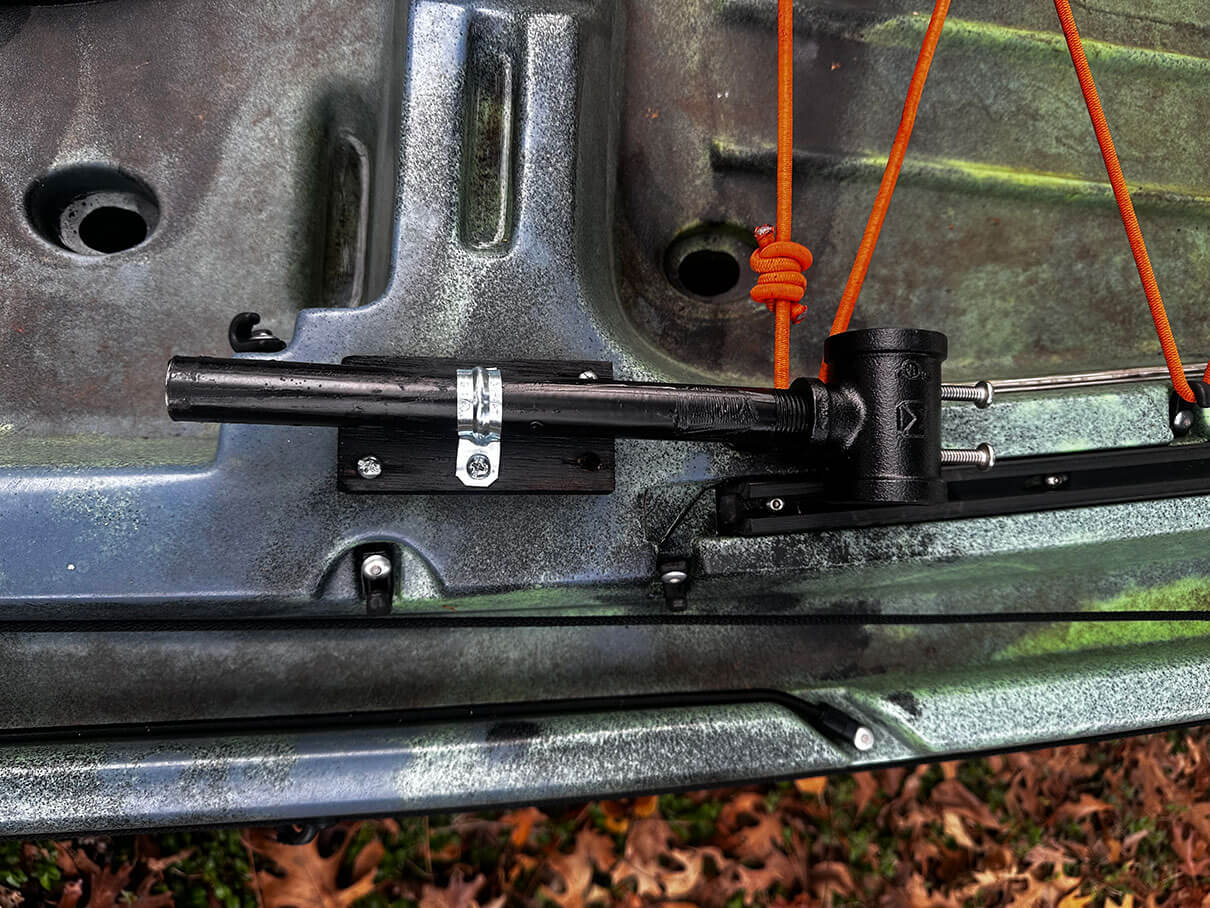
- Create bases to mount the outrigger bar by cutting two six-by-five-inch pieces of 3/4-inch plywood and attaching to the kayak with self-tapping screws. To connect the tee pipe to the mounting base, use two pieces of threaded pipe. Thread the tee pipe to the threaded end and secure the other end to the mounting block with 3/4-inch conduit straps.
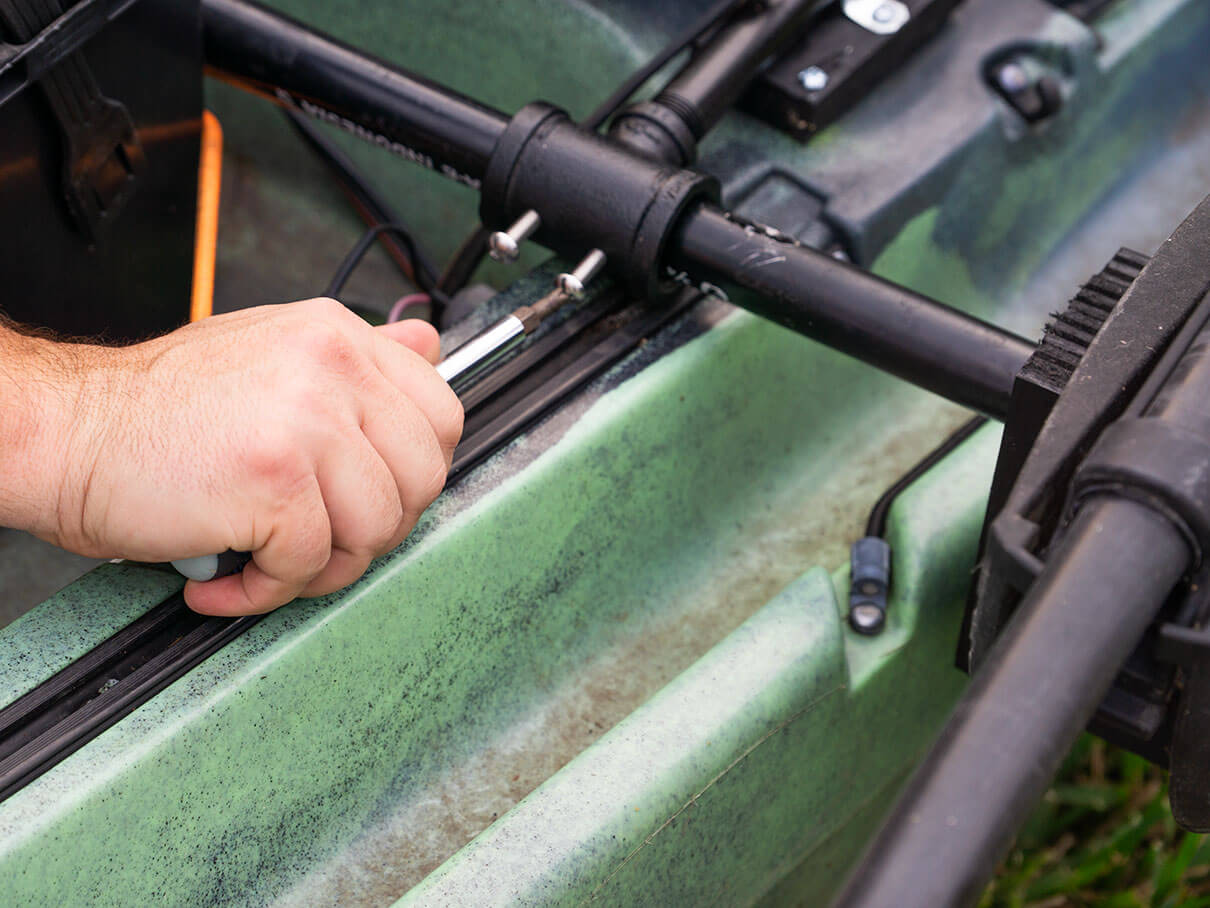
- Slide the outrigger bar through the tee pipe and lock it in place with 1/4-20 machine screws.
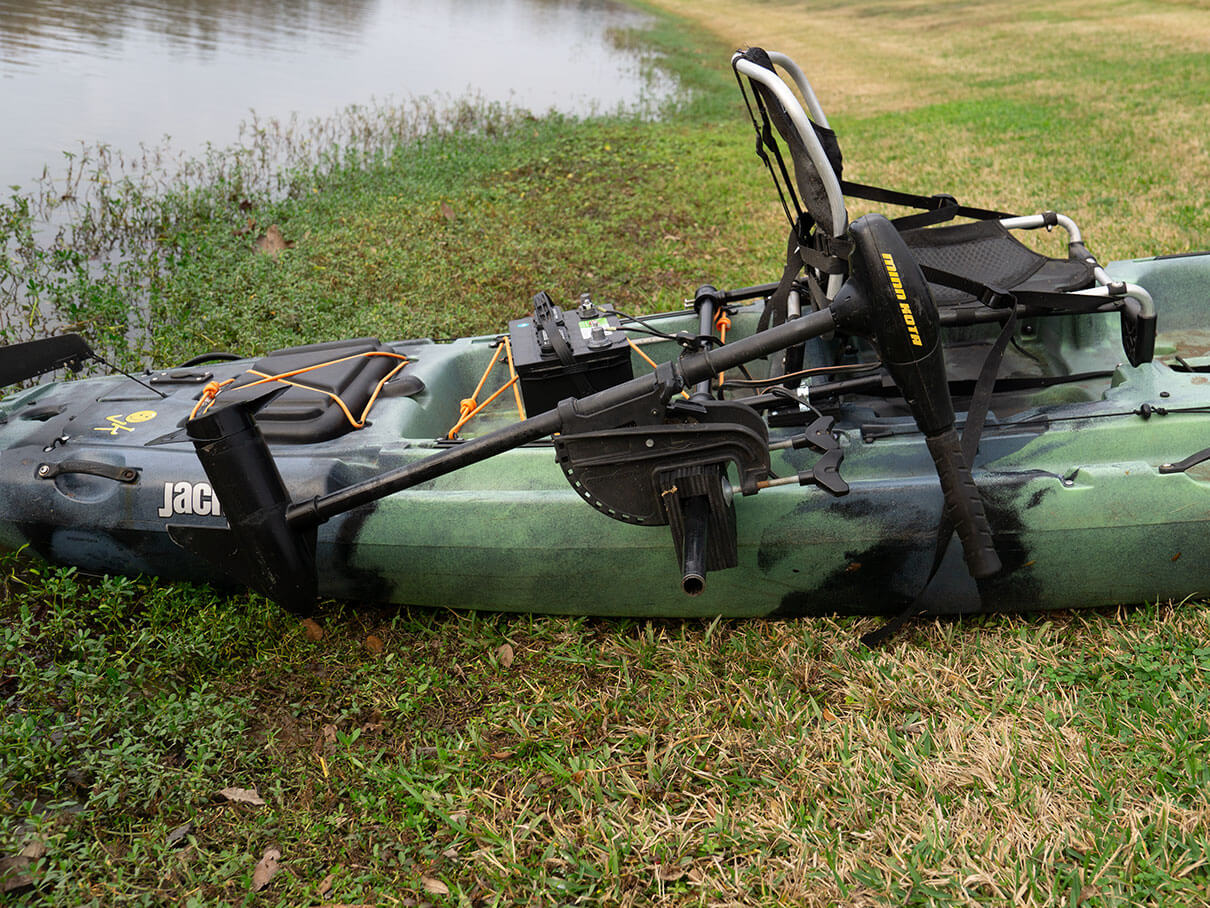
- Mount the trolling motor to the transom.
Expert Tip
For this build, you can expect to spend $100 on fasteners and pipe and another $150 for a transom motor for a total of $250. One of the more compelling reasons to own a kayak is that they can be as expensive as you are willing to spend or, with a bit of backyard engineering, they can be cobbled together masterpieces of design and function. In the end, they will still be cheaper than a boat. One last thing to remember: some states require you to register your boat, even a kayak, if it is powered. Check your local laws and regulations before taking your kayak out on the water.

Run with the pack without blowing a stack. | Feature photo: Cory Byrnes




On the DIY kayak motor mount, I am glad to see you finally acknowledge that this is a thing. The trouble with this particular way is that mounting a trolling motor on the side really upsets the balance of the kayak. It is actually easier to mount on the end of the boat, by making a transom mount to fit over the end. After that, figure out how to turn it with cables and foot steering.
Check Youtube and put in the words “Pelican Catch Trolling Motor and Pedal Steering”. This is my setup, https://www.youtube.com/watch?v=MJ273A6Sh0I There are a lot of setups like this and they work on practically any kayak.