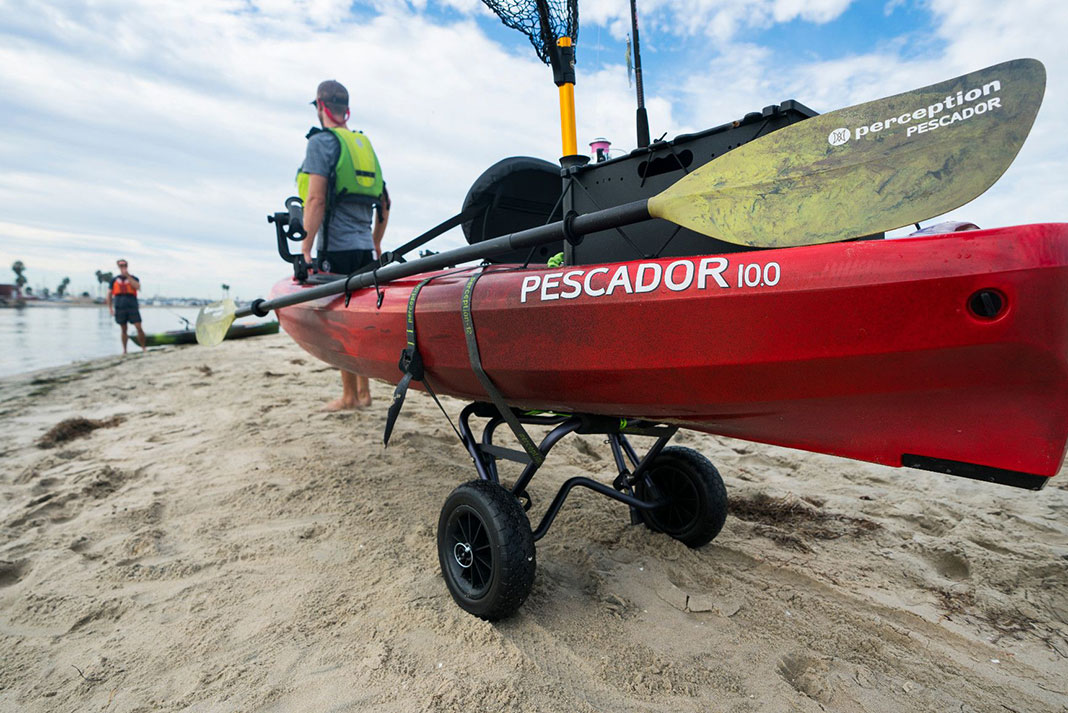
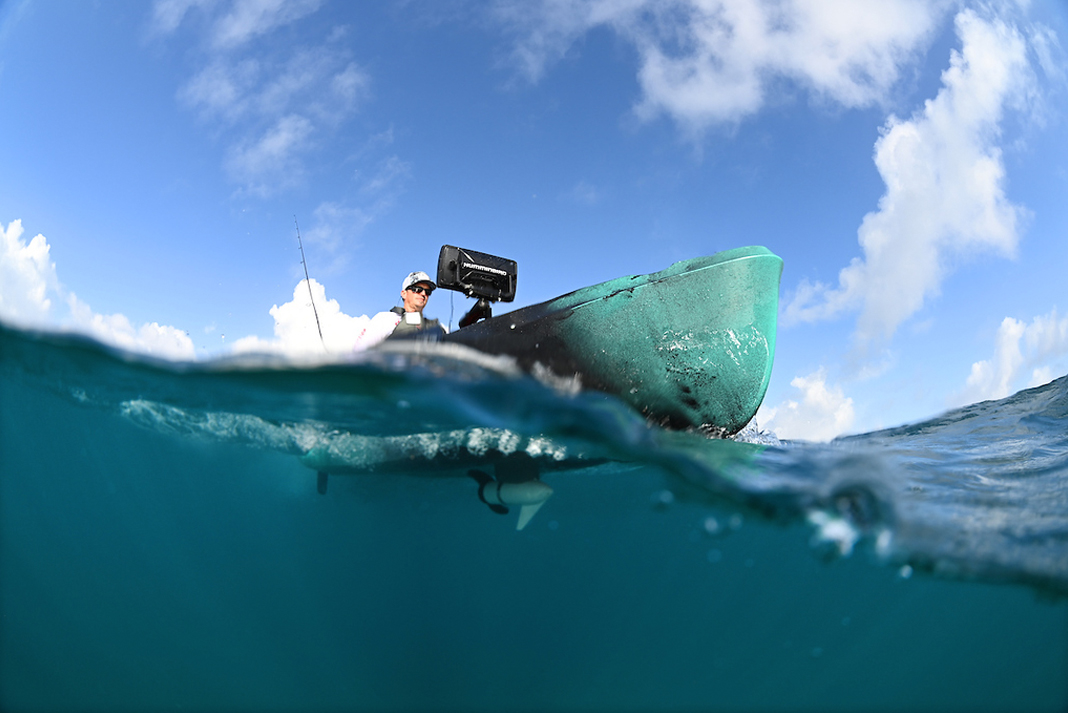
With anglers in an arms race to rig their kayaks with more and better electronics, everyone wants to know how to install fish finders, lights, chargers, gauges, anchor systems and motors on little plastic boats. To answer our questions about rigging the ultimate fishing kayak, we dropped in on Lance McWhorter, tournament pro and rigging guru at Billy Bonez for the latest trends in kayak rigging. The good news is you can install every type of gadget and gizmo. The bad news: it isn’t always easy.
How to Rig Your Kayak for Electronics, Lights and Power
KA: Describe a typical setup with electronics and accessories. What options are available for connecting power to multiple devices?
With modern equipment and lithium iron phosphate batteries, the sky is the limit. Electronics are totally dependent on the angler’s desire, knowledge and budget. Here are three sample kayak builds:
The Basic
This is for an angler who has been fishing out of a kayak long enough to know he loves it and now he is setting up his first real fishing kayak. For this angler, a simple three-in-one fish finder with traditional, down scan and side scan sonar with an inexpensive 12-volt rechargeable battery will keep the system going for a long day, while a 12-volt 10-amp-hour lithium iron phosphate battery will last all weekend.
The Angler
This boat is for the serious angler starting to get into tournament fishing or out clobbering the competition on the local trails. We are adding the works: navigation, anchor, cockpit lights, a seven-inch mapping GPS, traditional sonar with down and side imaging and a USB charging port for a phone or camera. The boat will have a Power-Pole Micro anchor system and trolling motor or electric outboard.
Here’s what you’ll need
Plumber’s snake to fish wires through the hull
Drill and utility saws
Cable management: cable-ties, sealant, through-hull fittings
Heat gun, wire crimpers
Marine connectors: heat shrink crimps or solder butt connectors
The Lunatic
This angler bit hard at kayak fishing and needs a versatile boat to fish lakes and ponds, inshore and offshore. This build is about finessing the install to make everything 100 percent functional, reliable, redundant and lightweight.
The lunatic’s boat is going to national-level tournaments and fishing lakes all over the country. The ultimate build is a stealth fighter version of a bass boat and an online-forum purist’s nightmare. To compete with the big names, a boat needs forward-facing sonar, multiple fish finders, GPS enabled sonar, GPS enabled trolling motor, advanced transducer, multiple USB outlets and NMEA networking to integrate all the systems. Moving this boat requires a 24-volt electric outboard.
KA: How do you choose the proper size and style battery for multiple accessories?
Selecting a battery starts with understanding voltage requirements. First, will a 12-volt system suffice or does the battery need to power a 24-volt electric outboard?
To determine your battery requirements and run time, do the math or search online for a run-time calculator. A simple calculation is a 10-amp battery will run for 10 hours with a one amp load. In other words: Time(H) = Capacity(Ah)/Current(A).

Adding high-energy draws like forward-facing sonar requires separate batteries for groups of electronics.
For a 24-volt outboard I would install twin 12-volt, 60-amp batteries wired in a series to provide 24 volts and 60 amps of power. Then, add a 12-volt, 23-amp battery to run electronics and lights.
To add a bow-mounted trolling motor and forward-facing sonar, use a 12-volt, 100-amp battery for the motor. While the math says a 50- to 60-amp battery will be sufficient, I recommend the larger battery for reliable, all-day power.
For an ActiveTarget Live Sonar system, I use a Yak-Power power box with twin Dakota Lithium 12-volt, 18-amp batteries wired parallel for 12-volt, 36-amp capacity.
To control all systems, I use the Yak-Power control circuit system connecting up to eight independent outputs and control each via deck-mounted switches, an external Bluetooth device or a standard marine switch panel.
KA: What are some tricks for rigging wires, connections and controls?
The number one trick for a quality install is having the right tools, equipment and materials and knowing how to use them correctly.
Second, carefully consider harnessing and waterproofing. The plan starts before a single wire is mounted on the boat. In large add-on builds, start by taking the seat, pods, existing wires and accessories out of the kayak and starting from scratch. Mock up the build by bundling wires outside the hull and planning points to access into the hull and places to secure wires off the bottom of the hull.
When making connections, remember the inside of a kayak is always wet. Properly solder or use marine-grade, heat shrink crimp connectors.
KA: What is the future of rigging electronics?
The future of electronics installation is going to be really interesting. I think the greatest advances are going to come from the boat manufacturers. They are starting to see what custom installers have been figuring out on our own. I believe boat designs will be conscious of wire and cable management, hull access, mounting options to accommodate larger transducers with space below the waterline for side-imaging sonar. We need openings and storage spaces for more and larger batteries.
From the electronics manufacturers, I would like to see kayak-oriented cabling options. Hiding 20 feet of transducer cable in the hull and managing a long cable to the forward-facing sonar is a challenge. Remember, a tournament angler has to park his rig overnight in a shady hotel parking lot. Most anglers have to detach all of their accessories between each trip. How about shorter cables? How about lighter through-hull transducers? To address kayak anglers, quit making a mess with excess cables and make electronics easier to detach. Hopefully, we’ll see these advances soon.
This article was first published in the Early Summer 2022 issue of Kayak Angler Magazine. Subscribe to Kayak Angler Magazine’s print and digital editions, or browse the archives.
Rig your kayak electronics right to get all the bells and whistles with none of the mess. | Feature photo: Jason Arnold


Good info and a solid article – thank you, this was helpful!